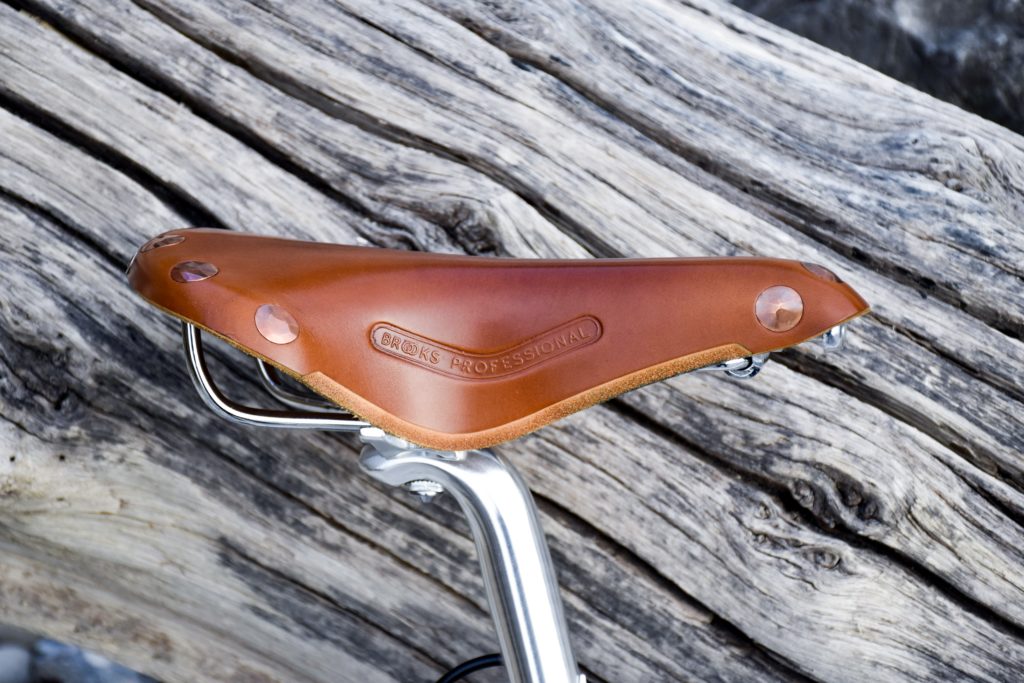
Getting your saddle height dialled in is not just a good idea, it’s incredibly important. Poor setup can take out all the fun and enjoyment you get from cycling and over time could lead to discomfort, muscle strains, joint pain and even injury. To enjoy a comfortable ride it is important that your handlebars & stem are set up correctly – and that’s impossible without getting your saddle positioning correct first. However, all that being said, it really is a straightforward process!

There are three simple elements to getting a good saddle set up :
- Vertical position
- Horizontal position
- Angle
Let’s take a look at each one in turn.
Vertical Position
There are a number of different methods that can be used to calculate saddle height – several involve measuring your inside leg / inseam and then transposing this to your bike, but if you’re not confident with this you could easily end up miscalculating it. Personally, I favour a simple visual approach:
- Record where your saddle is currently positioned. Some seat posts and saddles have marks already on them – if yours doesn’t then just mark with something you can identify. Using something like a cable tie can be helpful to record vertical starting position.
- If your saddle angle is not level – adjust it to be level (as shown above)
- Sit on your bike if possible wearing your cycling kit, including your cycling shoes. Make sure you are sitting central & level, not leaning over to either side.
- Rotate your crank so that it’s facing down and in line with your bikes seat post tube.
- Place your heel on the pedal with your foot in a level position and adjust your saddle height so that it is straight with your leg (keeping your hips level).
- Now place the ball of your foot on the other pedal – this should result in your leg having a slight bend at the knee at the bottom of the pedal stroke – giving you a good saddle height.
Horizontal
Now you have the height sorted, sit on your bike with the ball of your foot on the pedal and drop a plumb bob over the front of your knee – this should be in line with tip of your crank.
If the plumb line is in front of crank tip – move the saddle forward on its rails.
If the plumb line is behind tip of crank – move saddle backward on its rails.
Angle
A good starting position is having a level saddle angle. If your saddle is nose down this can lead to you slipping forward, compromising both comfort and overall riding position. If your saddle points upward this can also lead to discomfort through numbness!
If you have a full suspension bike, you need to bear in mind that your saddle angle will alter when you sit on your bike. The amount of movement will be determined by your weight and how you have your suspension set up.
With all the above complete, record your new saddle position. Compare these measurements with details of your initial set up. If there is a considerable difference in position then you might want to consider moving from your current position to the new position over a period of time, making incremental adjustments to access the difference to your riding experience each time, particularly in relation to changes in saddle height.
Safety first, kids! Make sure that you do not extend seat post beyond safe limit as indicated.
Tips to help/keep your saddle set:-
- It’s quite common for people new to cycling to set their saddles at a height where they can take their feet off pedals and be able to place their feet on the ground. This is understandable and is useful for gaining confidence, however, this will result in your knees coming higher than your thighs at the top of the pedal stroke. This makes pedalling more challenging, and tiring. It is also detrimental to balance and all in all is pretty counterproductive.
- Make your adjustments in a location where the ground is level and you are able to sit on your bike, keeping it upright (e.g. lean bike against house wall, keeping your bike as upright as possible).
- Get somebody to help you – ask them to observe your new position to make sure your hips do not rock from side to side and that your feet remain level when pedalling (using a turbo trainer for this can be helpful).
- Once you have completed your set up, resist the temptation of moving your saddle horizontally on its rails, to adjust your reach (distance from saddle to handlebars). Altering the reach is achieved by making changes to the handlebar stem (length and/or rise) and handlebar (width and rise).
Happy comfortable riding from all the team at Clean Wheels. If you’d like learn more about their services, from maintenance and valets to coaching, visit their website.