If you’ve been involved in a cycling incident caused by a pothole, uneven road surface or another highway defect, good evidence can make a real difference.
Photographs should be taken as soon as possible after the incident, ideally before any repair work takes place. If the defect is repaired before evidence has been captured, that evidence may be lost, which could affect whether a claim can be pursued.
As part of Yellow Jersey’s partnership with Fletchers Solicitors, we’ve put together some simple guidance on how to photograph and measure a highway defect safely.

Why photos matter
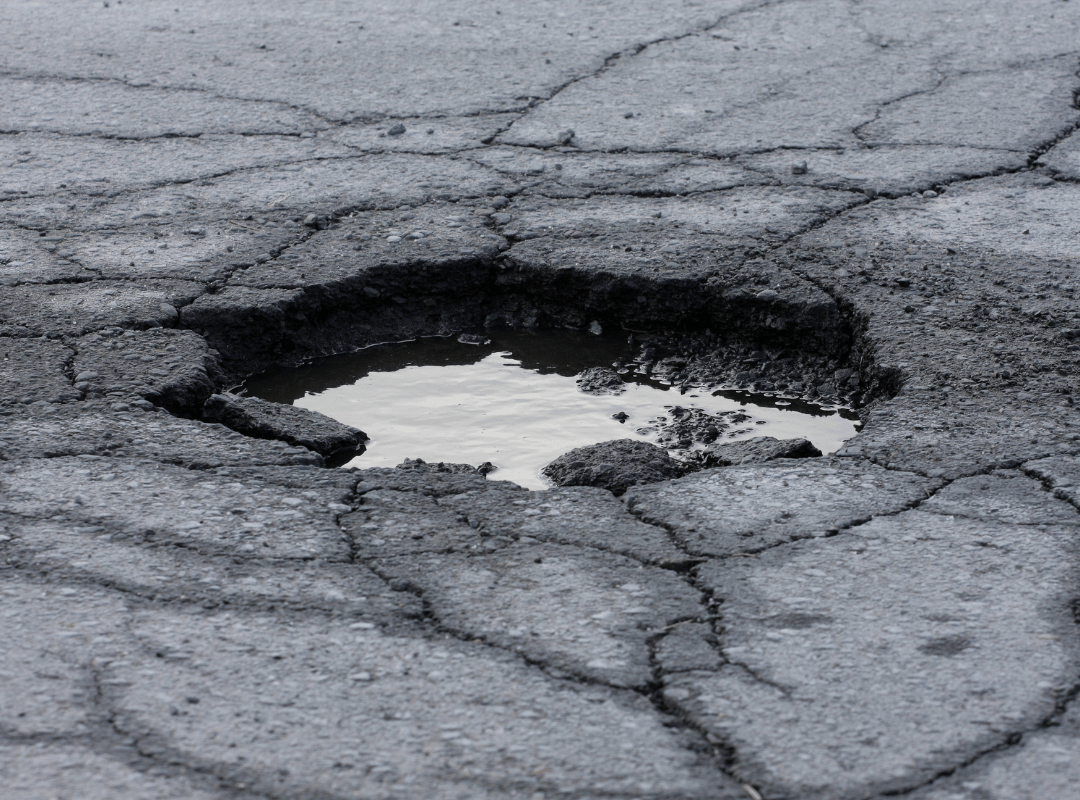
To show the nature and severity of a pothole or defect, clear photographs are needed. These should show the size, depth, width, length and exact location of the defect. First and foremost, your safety is paramount. You must make sure that you are conducting your investigation as safely as possible, and not putting yourself at risk of danger.
It’s also important to take photographs in good light where possible, so the road surface and measurements can be seen clearly.
What you’ll need
A few simple items can help you capture useful evidence:
-A spirit level or long straight edge
-A ruler or tape measure
-A phone or camera
-Something to note the location, such as a nearby house number, lamppost number or street feature
How to measure the depth
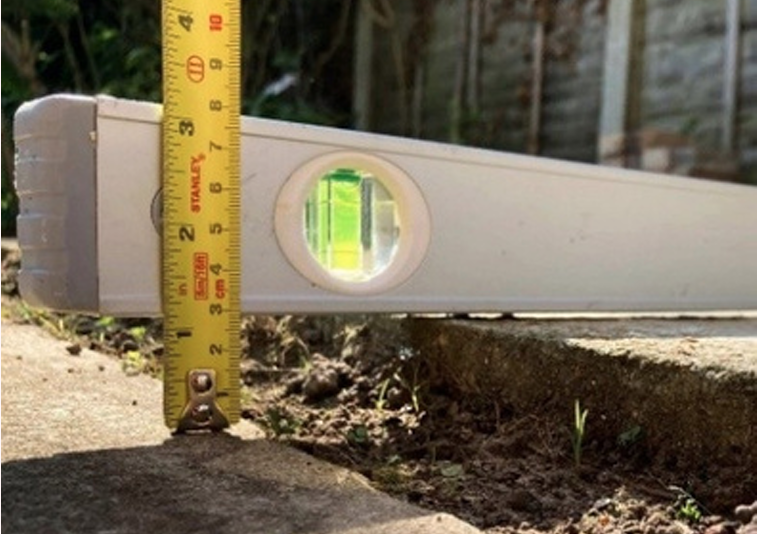
Place a spirit level or straight edge across the top of the defect. This helps show the gradient of the road and gives you a clear point to measure from.
Then, using a ruler or tape measure, measure down into the defect. The ruler or tape measure should be pressed flush against the side of the spirit level or straight edge.
When taking the photo, try to get your phone or camera as close to ground level as possible. Photos taken from standing height may not show the true depth clearly.
Measure the length and width too
As well as the depth, take further photographs showing the length and width of the defect.
These can help show the overall size and condition of the road surface. If there are other nearby potholes or the road is in a general state of disrepair, photograph those too, but make sure it is clear which defect caused the incident.
Show the exact location
Take photographs from further away as well as close up.
Wider photos showing nearby buildings, junctions, signs, lampposts, post boxes or other distinguishing features can help identify the exact location later.
If possible, make a note of:
-The nearest house number
-The number on a lamppost or lighting column
-Nearby road names or junctions
-Any recognisable buildings or landmarks
Mark the point of contact
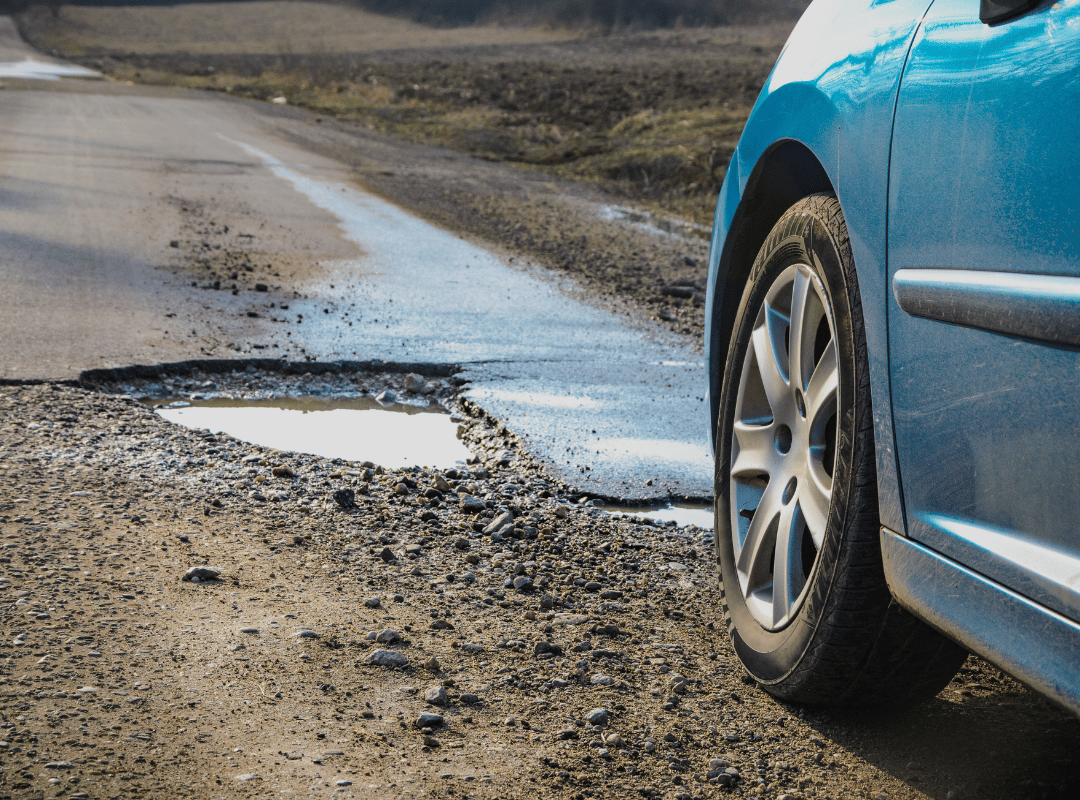
Where possible, annotate the photographs with:
-An arrow showing your direction of travel
-An “X” marking the exact point where contact was made with the trip edge or defect
This can help explain how the incident happened and which part of the defect caused the fall or damage.
Free Legal support through Yellow Jersey
Every Yellow Jersey cycle insurance policy includes up to £100,000 legal cover as standard with Fletchers Solicitors, subject to the terms, conditions and exclusions of the policy.
Through our renewed partnership with Fletchers Solicitors, Yellow Jersey customers can access specialist cycling legal support following an eligible cycling incident. Fletchers can help explain your options, advise on evidence and guide you through the next steps.
If you’ve been injured in a cycling incident and need advice, you can contact Fletchers Solicitors on 03300 081 247 for free initial advice from their specialist team. You can also call their freephone helpline on 0808 500 8109.