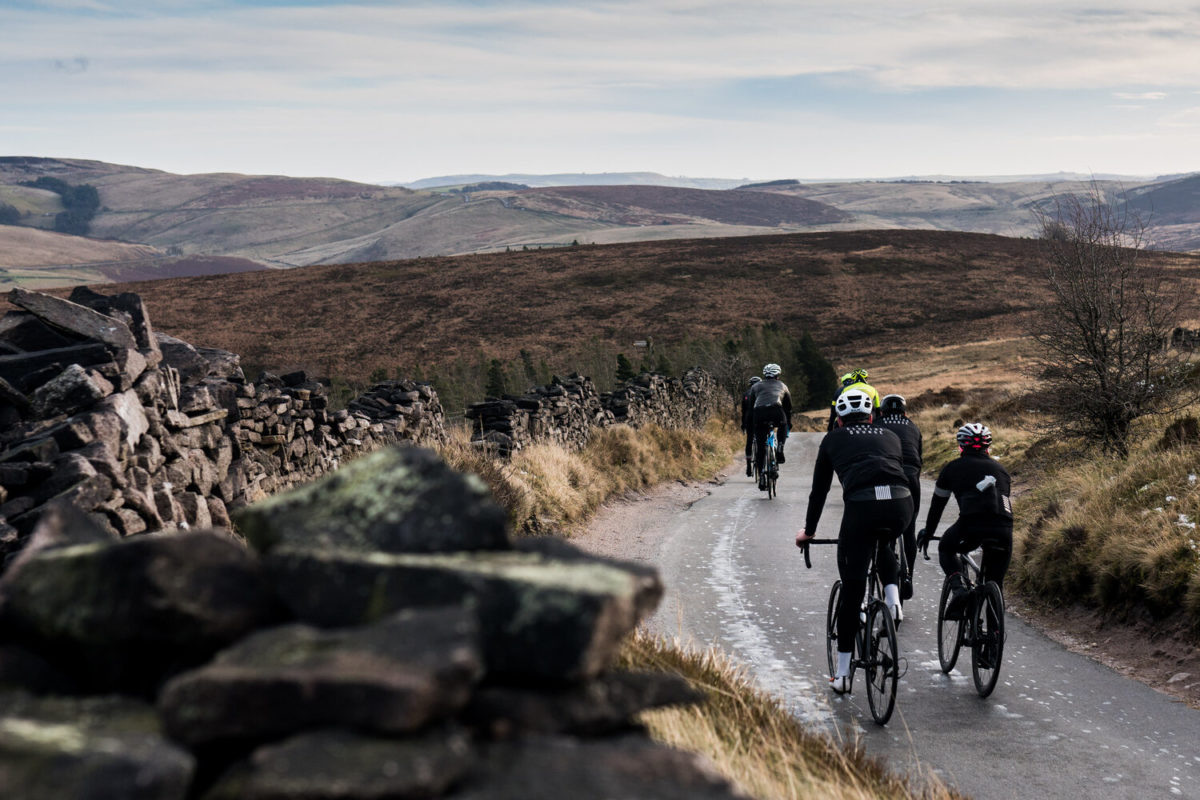
Winter. Yes, it really is that time of year again. A season where it takes longer to get dressed for a ride than it often takes to get to where you’re going and slapping yourself in the face trying to pull on an arm warmer is just part of the experience. But beyond the cold, crippling headwinds and pouring rain, winter riding can offer a certain therapeutic experience. Almost offering a greater reward for your efforts. And by reward, we mean hot chocolate.
But let’s talk about the bike. Putting your bike through these winter months without preparation is unwise at best, and dangerous at worst. Whether you’ve got a bike for every season, or one bike that does it all, we’ve put together a list of ways to winter-proof your bike to make sure you last until Spring. Whether your legs make it that far is another matter entirely.
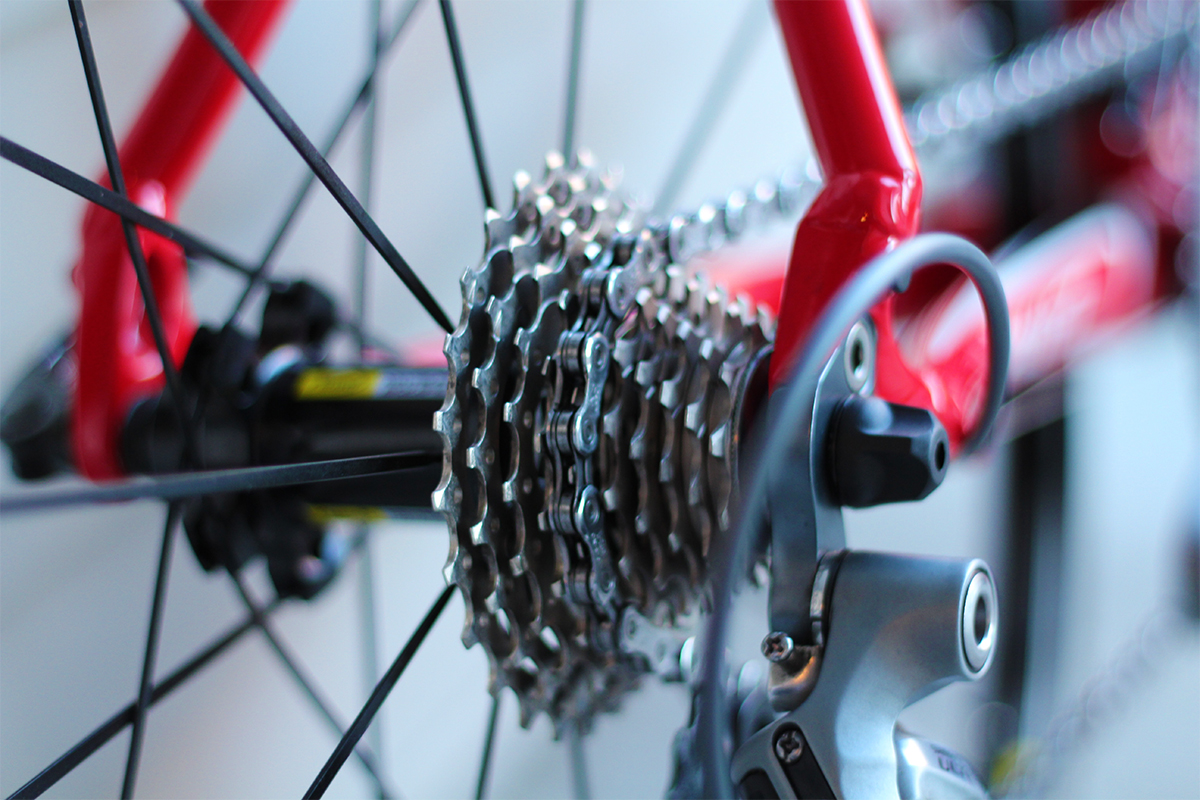
If it’s wet, clean your bike after every ride
Yes, it’s annoying and time-consuming, but it is worth it if not purely for the money saved on components worn out before their natural lifespan. If you’re stuck for time, clean your drivetrain with a good degreaser and make sure all the grit from the roads is washed off. Riding in winter may not be pleasant, but it can be made better by a smooth-running drivetrain.
Fit mudguards to your bike
Your bike not having mudguard eyelets built into the frame is no longer an excuse for not fitting mudguards. In the past few years especially, quick release and rubber mounted mudguards have become available to fit most bikes. Additionally, if you ride with a club, it’s often a requirement to attach mudguards to your bike lest you want to become unpopular for spraying unsuspecting members with rain and mud.
Check and re-grease/replace bearings
We know, it’s the UK, so when is it ever not wet? The UK has a wonderful combination of mud, salt and rain on its roads which, if left to sit on your bike will rot it from the inside out. Before it gets to this stage, however, it’s important to check the condition of your bearings and make sure they have enough grease and they are moving freely (and don’t feel gritty). Areas you’ll want to check include the headset bearings and bottom bracket. Both are easy to check and require no disassembly as the grinding or creaking noise made by a worn-out bearing is easy to identify. Replacement or re-greasing is best explained depending on your bike model, so either get your bike to a professional or have a look on YouTube for best practices if you have the tools.
Consider using a ‘wet’ lube
We’re under no illusions by now that we’ll manage to get through winter without getting rained on or grinding through salty roads, so why not consider using a specially designed chain lube for poor weather conditions. Wet lubricants last longer than their dry equivalents and are not as easily washed off by the rain, leaving your drivetrain working a little longer between washes.
Consider swapping your tyres
With more debris and rainfall on the road, you will likely have more punctures in the winter. Therefore, swapping the summer slicks for wider and more puncture-resistant tyres will help you avoid spending time at the roadside. Look for a size up to your regular tyres. We’d recommend 28mm if your frame can accommodate them. The added rolling resistance is minimal, and the comfort and stability gained from a wider tyre far outweigh the lightness and ‘speed’ of a slimmer profile. It’s important to look for thicker sidewall protection, as that’s where a lot of the puncture resistance comes from.
Make sure you refresh your saddle bag
As a bare minimum, you need a pump, a tube, and a multitool. If you have room, it’s nice to have a pair of disposable gloves to protect your hands if you do end up with a mechanical. It may also be worth checking if you have a spare chain link suitable for your chain in case it snaps. Most importantly, make sure your tube is still roadworthy as friction from inside the bag can cause tiny holes to appear, rendering the tube useless.
Lights
Unfortunately for us northern hemisphere folks, the sun does rise later and set earlier during winter, declaring the need for lights on our bikes. Invest in a set of good quality, USB chargeable, water-resistant lights, and you won’t need to replace them for several years. Make sure you have a red light for the rear and white light for the front. You can buy powerful lights with high levels of brightness to help you continue riding through the dark.
Regularly check your brakes
Whether you have a bike with disc or rim brakes it’s important to check the pads for wear. Disc brakes will often make even more noise than usual when they’re wearing down but check them periodically. With rim brakes, you not only need to check the wear on the pads but the wheel’s braking surface. The rims will have wear markers and once you can see them it’s time to think about replacing them.
Wax your bike
Perhaps a less orthodox method of winter-proofing your bike,
but if it’s good enough for cars, why shouldn’t bikes have wax treatments? You don’t need to get it expensively applied by a detailer, just rubbing on a little block of car wax will help stave off the worst of the mud and salt, while making it easier to rinse off when you do clean the frame.
Of course, the best way to winter-proof your bike would be to ride somewhere dry and sunny or retire it to the turbo trainer. But where’s the fun in that?
Have a look at our specialist policies to cover you through your winter training, whether you’re abroad or at home.