THE PROBLEM
Mountain bikes are awesome, they allow us to explore new places and ride amazing trails. In recent years this has only been made easier with massive advancements in geometry and technology improvements. One area however, that for many years has been neglected and was somewhat prehistoric, is tyre set up. The inner tube has been a staple diet for many a mountain biker despite being incredibly unreliable when it comes to holding air in your tyre. We have all been on that long and lonely walk back down the hill after a puncture has stopped play. Fast forward to 2013 and the world cup racers secret was out… tubeless systems. This new age design not only reduced the rolling weight of your wheels but also allowed you to run lower pressures without fear of punctures. This setup has become a must in world cup racing with only a handful of racers opting for different systems at last year’s world cup race in Les Gets.
THE SOLUTION
The tubeless system is fantastic and is a game changer with the development and improvement of new sealants such as Peaty’s Products developed by the man himself with years of experience in his pocket. Tyres have also improved with new tubeless specific tyres being developed to hold the air better and create a better seal with the rim. Unfortunately this has not eliminated punctures and damage to wheels, a solution all cyclists hope and pray for daily.
Enter the insert. A fairly simple design derived from Motocross mousse’s that not only protects the rim on big impacts but also helps to prevent punctures and allow you to ride home if you do. From it’s conception this was not a cheap option with the first in its field the Schwalbe procore, retailing at an eye watering £155rrp this was anything from cheap and a nightmare to set up.
Enduro changed the game for most, big days out on some of the roughest terrain with limited to no tools meant inserts were a must but also ease of use was paramount. A prime example of this would be Finale Ligure. With rocks from start to finish and no smooth line down, being able to attack the trails with confidence is key.
With such a high demand brands started popping up with creative new solutions to the problem, cushcore, rimpact, flat tyre defender and Nukeproofs ARD to name a few. These were not only easy to fit but if the dreaded occurred on the trail they could be easily removed and a tube replaced allowing you to continue you ride to the end of the day.

CREATING A PERFECT STORM
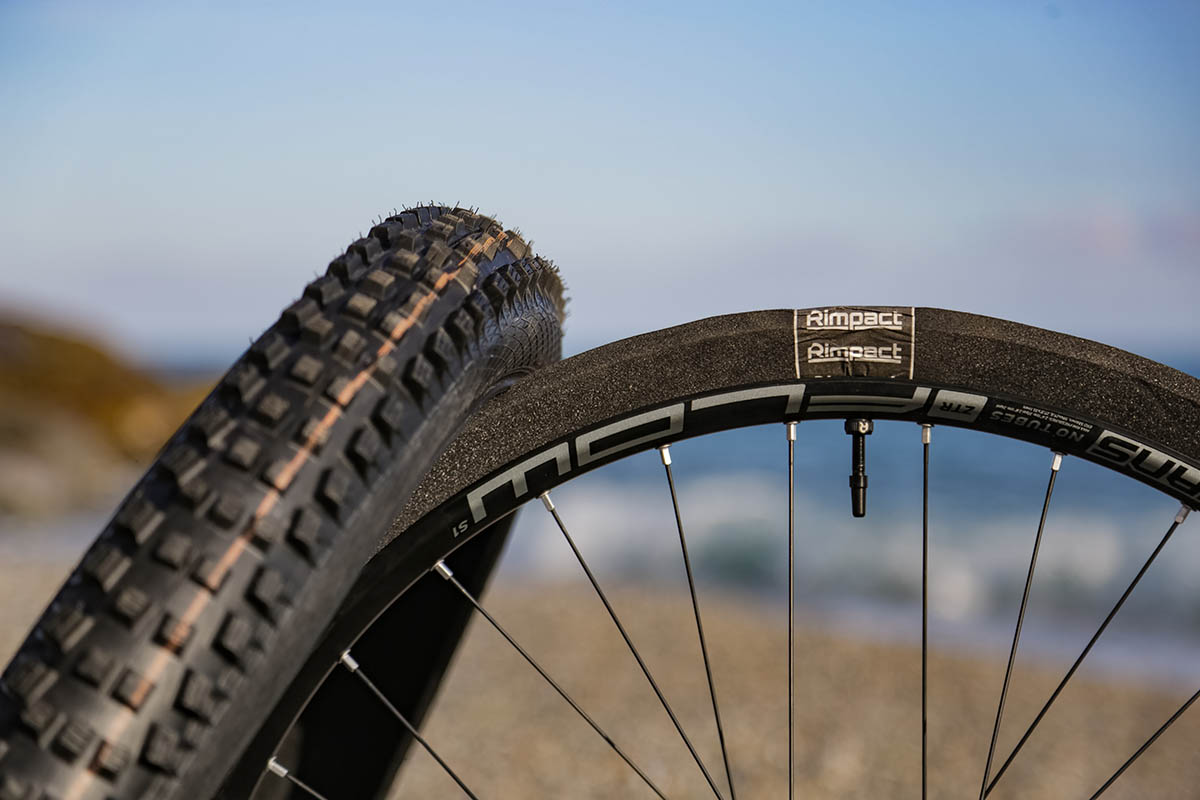
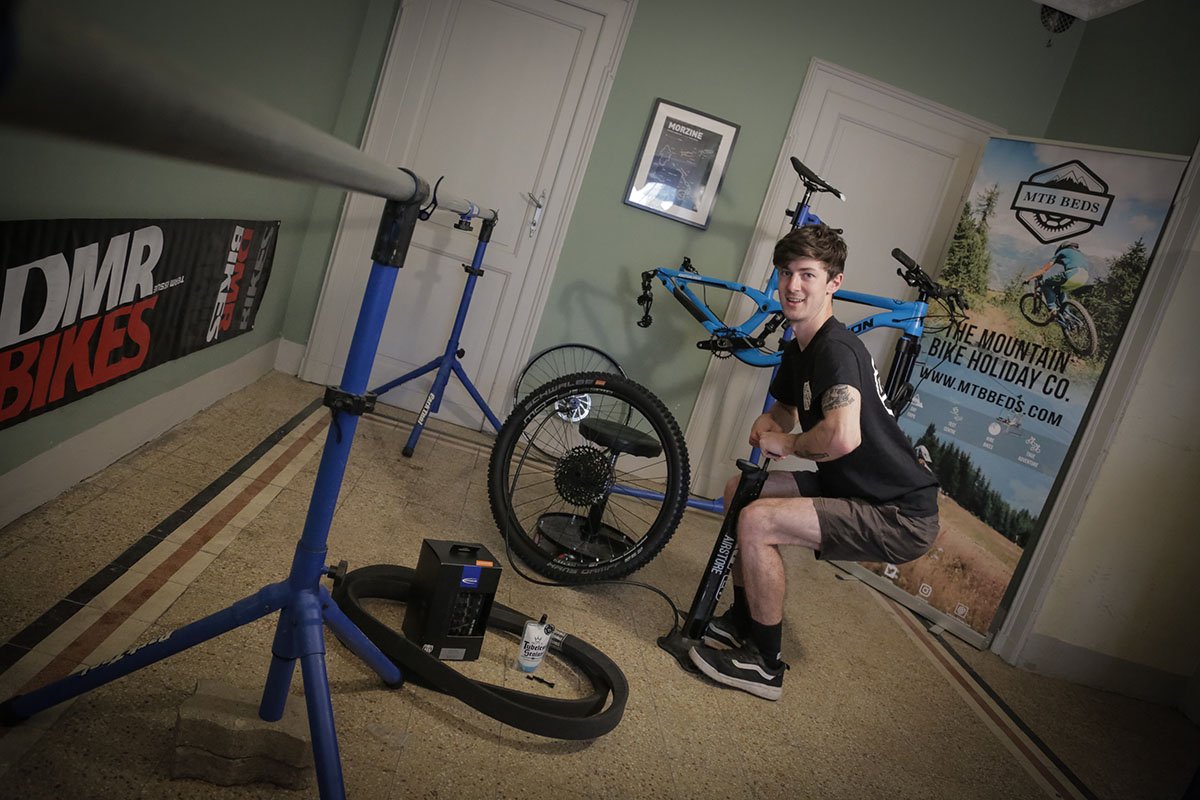
First things first, you need a wheelset, ideally this will be a tubeless ready set up but is not necessary provided you use the correct tapes and tyres. For example we have used the Stan’s Flow S1 wheelset.
Tubeless tape is a must and is crucial to an optimal set up. Measure the width of your rim and then choose a tape to match this. We have heard many stories of people using duct tape and electrical tape but none of these are specifically designed to prevent spoke damage and also stick to the rim. Most wheel manufacturers will provide your wheels with tubeless tape already set up but in case you need to buy a new tape, Peaty’s have the Rimjob.
A big one you will need, a tubeless set of tyres. Usually this is clearly written on the tyre with either a tubeless ready or tubeless easy (TE) as used on the Schwalbe tyres in the photo. We recommend a tyre with a strong side wall, although the added weight maybe there puncture and tyre support far outweighs this ( excuse the pun).
Next is a solid insert. As mentioned there are many on the market but for us there is only one that is both easy to use, does it’s job and is at an appropriate price point, the Rimpact #sendnoodz insert. This offers great side wall support and also comes with special tubeless valves to allow air to escape into the tyre without the insert interfering.
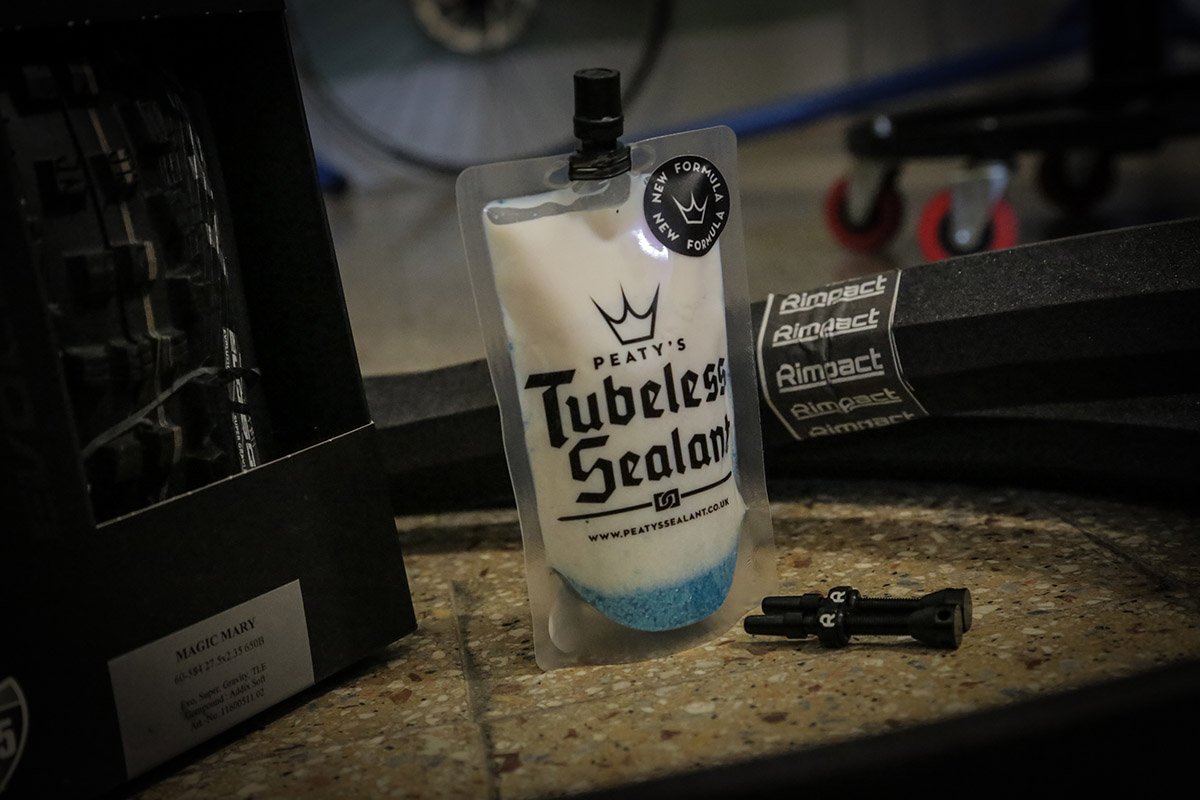
Finally you need a good sealant, this is one of the most flooded areas of the tubeless market. We run Peaty’s sealant, you don’t get to where Steve Peat is without some great experience testing and perfecting products. The added glitter not only helps to plug holes but allows you to easily find the hole in the tyre should you get one.
Once you have all these products the setup is fairly straightforward:
Hold your wheel tight and starting at the valve hole wrap the tape tightly around the rim either once or twice depending on how flat the rim profile is. Pierce the tape where the valve hole is with a safety pin and push the tubeless valve through the hole (don’t make the hole too big or air will escape). Once through screw the valve collar on, this usually includes a rubber seal so be sure to put this on first.
Place one side of the tyre onto the rim (make sure the tyre is the right way round at this point to save disappointment). Place insert into the tyre and seat around the rim, this should be quite snug but not too difficult to do. Seat on the other side of the tyre onto the rim with the insert inside, this should be tight and may require tyre levers to fit. If struggling to fit, ensure that the other sides of the tyre have not seated onto the rim bed.

Once fitted it’s time to add sealant to the wheel, depending on sealant type this can be done by removing the valve core from the valve, threading on the tubeless pouch or rubber tubing and then pushing the sealant into the tyre. Once sealant has been applied, replace the valve core and inflate using a tubeless pump or compressor.
Pump the tyre to ensure all sides of the tyre are seated to the rim and no air can be heard escaping from the system. Pump the tyre up to around 40psi (harder than your usual riding pressure) and leave for an hour to allow any air escaping to be sealed by the sealant.
Set tyre to preferred tyre pressure (around 3psi lower for inserts) fit the wheel and get out on the trails.
Although not yet a perfect solution completely eliminating the puncture, this system gives you a huge amount of protection and allows you to complete a ride and get back home if a puncture does occur. Due to the precision of Mountain biking a completely airfree system has yet to be proven on the trails, until then this is about as puncture proof as it gets.
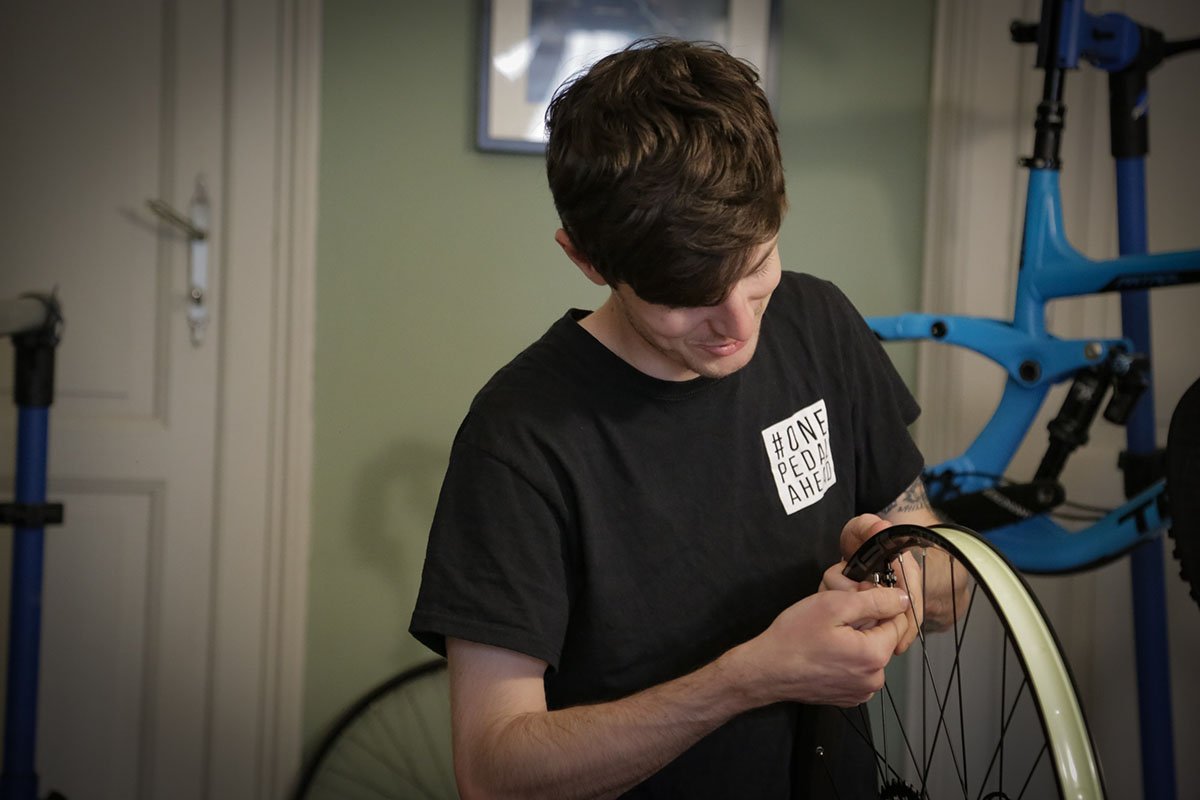
Stay #ONEPEDALAHEAD
Guest post from our friends at MTB Beds