Wrapping bar tape is a skill worth mastering, as it’s a quick way to freshen up the look and feel of your bike, plus sooner or later you’re going to wear out your grip.
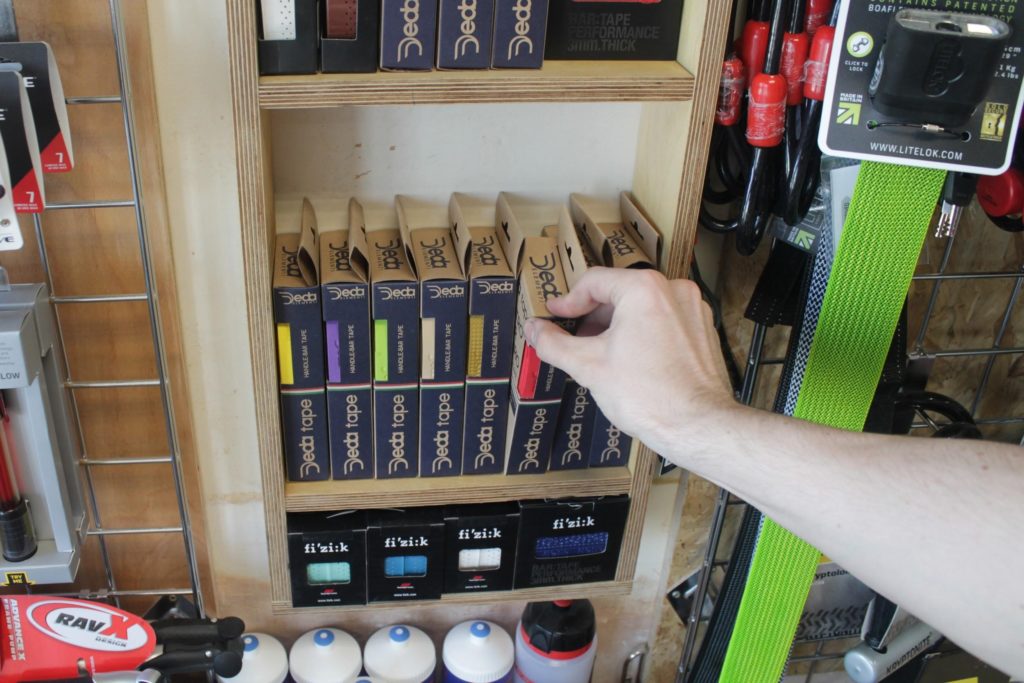
Without a doubt your most important part of bar taping is to choose what kind of tape you’re after. I would say there are three main types of tape – cork, silicon, and classic or faux leather. Silicon based is sticky and great in wet conditions. Faux or real leather has a certain look and feel about it, as well as being very resistant to wear. Synthetic cork is good for vibration damping and, being a cheaper option, it’s good for learning to bar wrap.
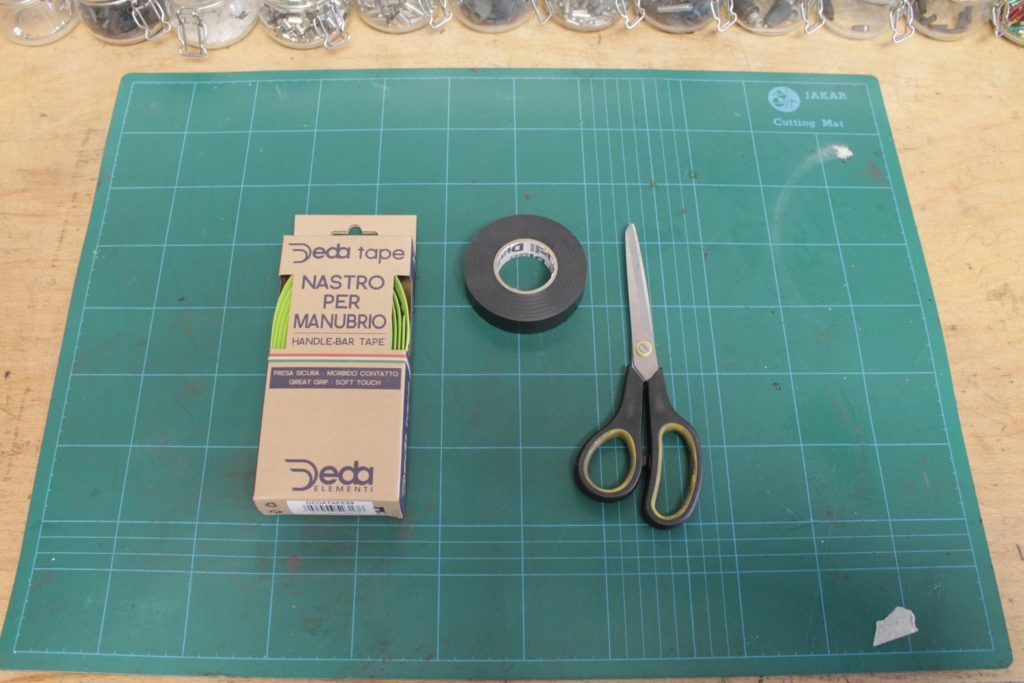
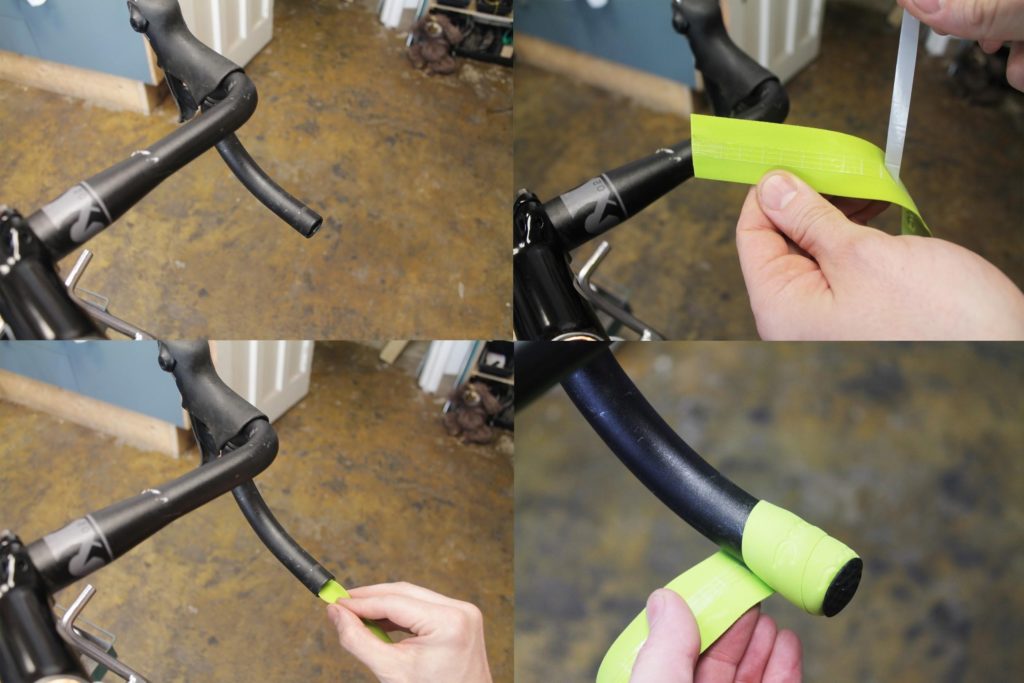
For the purpose of this tutorial we’ll use Deda Cork Ribbon in a vibrant Lime Green.
The tools for the job are pretty basic and stuff that everyone will have around the house, especially if you’re into your DIY. All you need are scissors for cutting the bar tape and some electrical tape. The electrical tape isn’t always necessary as the bar tape will come with finishing tape, but from my years of experience I’d say it’s better to use electrical tape to finish.
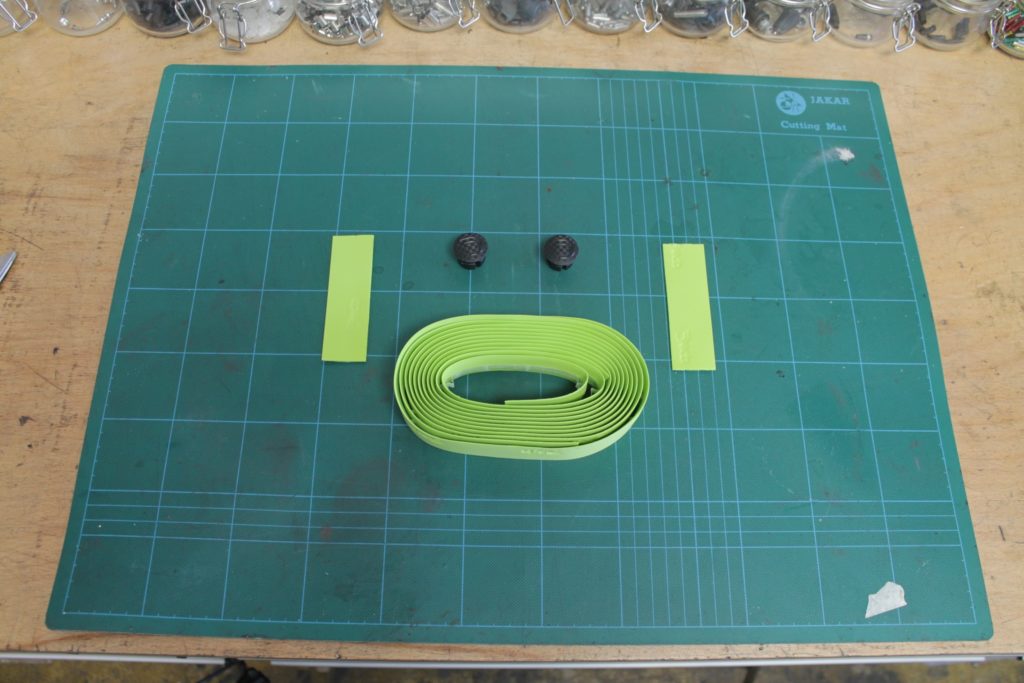
Inside the box you get two bar plugs for the end of the handlebar, two long strips of bar tape and cheat bar tape. I am going to show you how to wrap without the cheat tape, as I would say it’s actually harder to use the cheat bar tape, so put the ears to one side like so.
Have your scissors and electrical tape to hand. First, peel the protective layer off the sticker and then insert the end into the bars so that the sticky side is facing down (bottom left image). Wrap the tape away from the bike and do two wraps to begin with, making sure the turns are tight and neat. You don’t want to get the whole way up only to realise you have messy, loose tape and be forced to unwrap and start again! Place the bar end in to hold the tape, then continue wrapping your way up the handlebar.
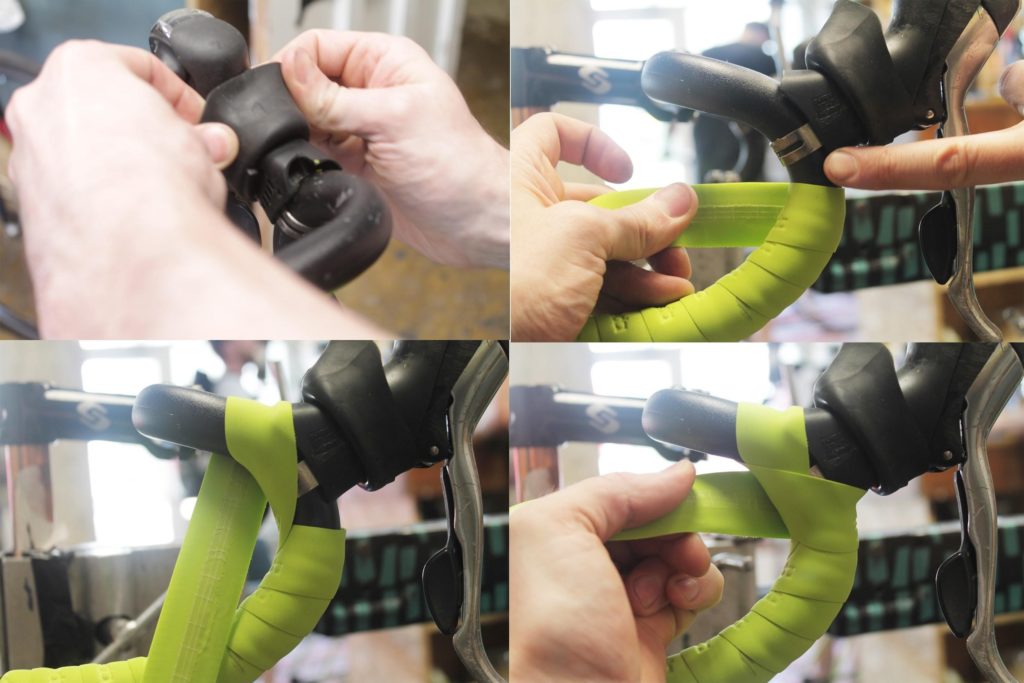
Once you’ve worked your way up, flip the hoods on the shifters. This allows access to the shifter body and ensures you’ll get a lovely, tight fit. Continue working your way up with a firm wrap up to about a finger’s gap below the shifter. Then wrap up, over and back around to cover the finger’s gap in a figure-of-eight style as shown below. Keep wrapping for a few after the shifter body.
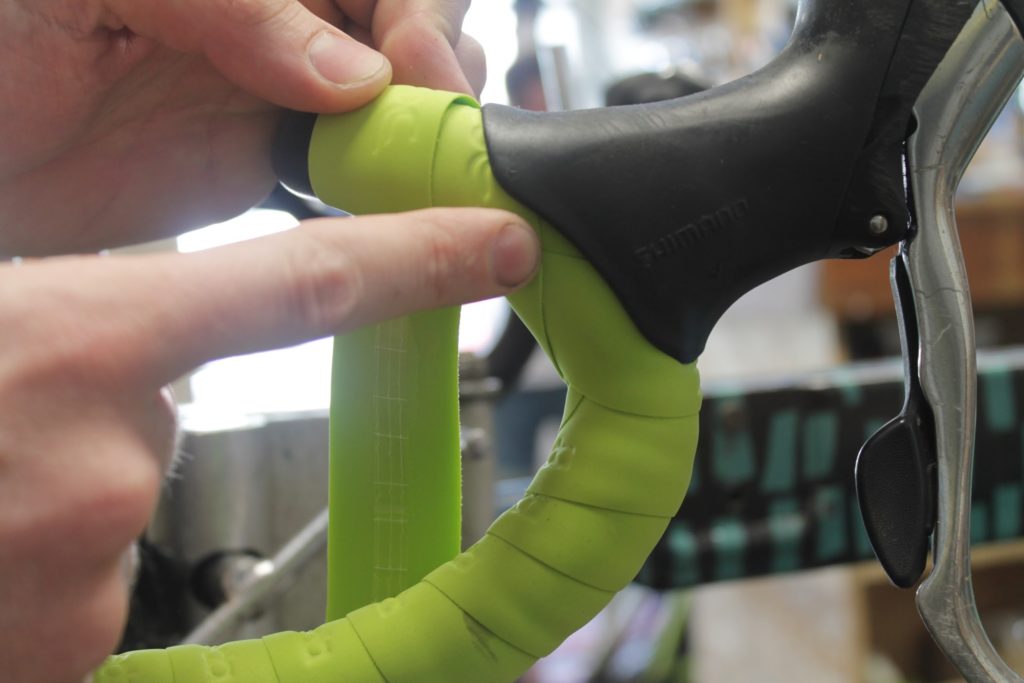
Drop the shifter’s rubber hood down to seal in the tape and continue wrapping, now towards the bike.
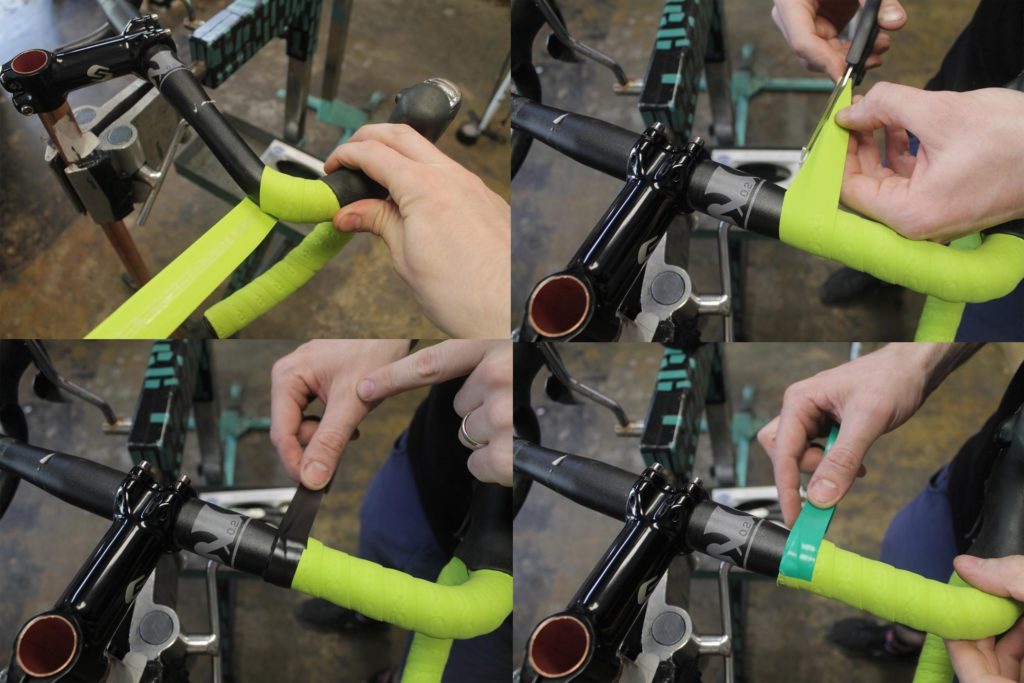
Stop wrapping once you reach about 2 inches away from stem, normally where the bars change diameter. Grab your scissors and snip on the stem side of the tape. Then finish off the end with electrical tape to give a clean finish. At this point you can accessorise with a different colour tape if you like.
Thank you to Ben and Tom of Parts And Labour Cycles for their contribution. Visit their website for repairs, services, custom builds and more.
More excellent cycling tips blogs
- Learn how to use a chain wear indicator, and when to replace your bike chain
- How to fix a broken chain
- Top 10 tools for your home workshop
- How to change an inner tube
Across three packages, our Bicycle Insurance covers your equipment when riding, racing or training worldwide